Choosing the Best Welding Helmet: A Complete Guide
Share
Why Your Welding Helmet Matters
A welding helmet isn’t just another piece of PPE — it’s your first line of defence against sparks, UV/IR radiation, and eye strain. A good helmet not only protects but also improves your weld quality by giving you clear, uninterrupted vision of the weld pool.
With dozens of models on the market, from budget helmets to high-end PAPR systems, choosing the right one can feel overwhelming. Here’s a breakdown of what to look for so you can make an informed decision.
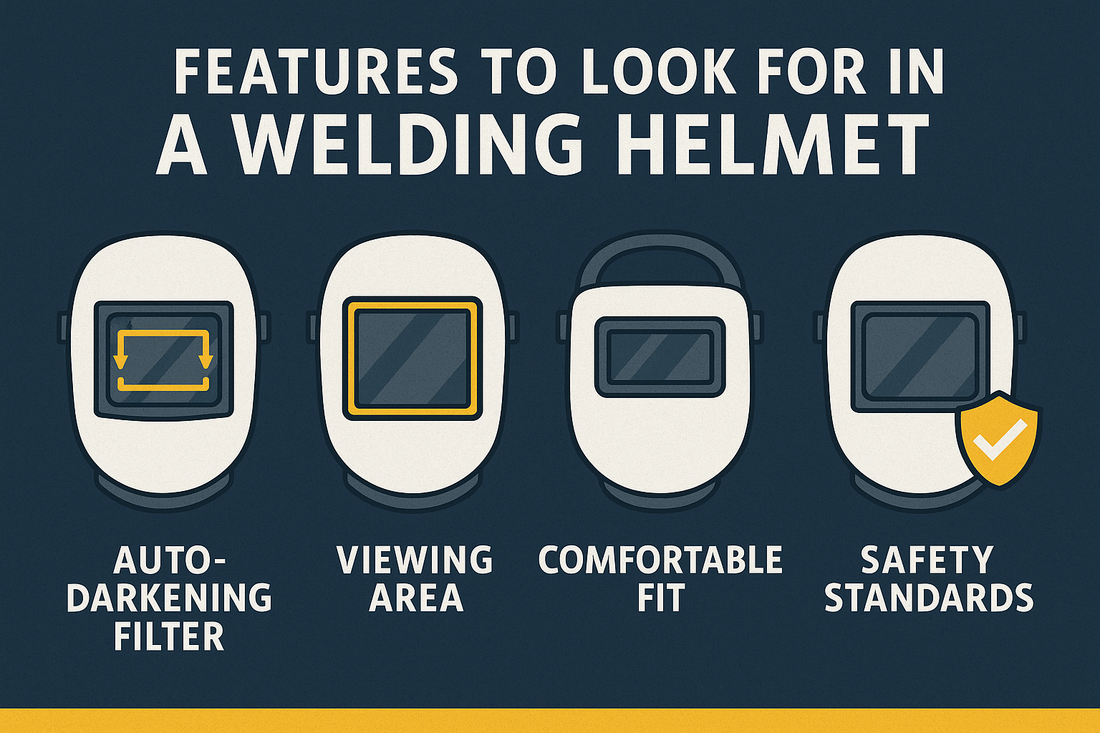
Key Features to Look For
1. Auto-Darkening Filter (ADF)
Auto-darkening helmets automatically adjust the shade when the arc starts. Look for:
-
Reaction time: Faster switching means less eye fatigue. Good helmets switch in 1/25,000 of a second or quicker.
-
Shade range: A wider range (DIN 5–13) lets you handle different welding processes.
-
Sensitivity & delay controls: Useful if you’re working in low amperage TIG or want to control how quickly the lens returns to light mode.
2. Optical Clarity Rating
Helmets are rated under the EN379 standard with four categories: optical clarity, diffusion, luminous transmittance, and angular dependence. The best rating is 1/1/1/1, giving the sharpest and most accurate view of the weld pool.
3. Viewing Area
A larger lens makes it easier to see your work without moving your head. Entry-level helmets often have ~90x40mm lenses, while premium helmets can be much bigger (100x60mm or more).
4. Comfort and Weight
Lightweight helmets reduce neck strain, especially if you weld for long shifts. Look for:
-
Adjustable headgear
-
Padded straps
-
Balanced design that sits comfortably without slipping
5. Safety Standards
Always check your helmet complies with AS/NZS 1338.1 (for Australian standards) or equivalent international safety ratings.
6. Advanced Options
-
Grind mode: Lets you use the helmet for grinding without swapping PPE.
-
PAPR (Powered Air Purifying Respirator): Provides clean, filtered air to protect against fumes — a must for confined spaces or heavy production environments.
-
True colour lenses: Give a more realistic colour view, making it easier to see the weld pool.
Choosing Based on Welding Process
-
MIG & Stick welding: Medium to high amperage → Shade 9–13 is ideal.
-
TIG welding: Often lower amperage → Need higher sensitivity and shade range down to Shade 5.
-
Plasma cutting: Lower amperage again → Shade 5–8 usually works well.
Common Mistakes to Avoid
-
Buying too cheap: Entry helmets might pass as “auto-darkening” but often lack speed, clarity, and reliability. Eye strain and headaches cost more in the long run.
-
Ignoring comfort: A helmet that feels heavy or awkward will affect your weld quality.
-
Not checking replacement parts: Make sure lenses, batteries, and headgear are easy to replace.
Final Thoughts
The best welding helmet is the one that balances safety, comfort, and clarity for your specific needs. Whether you’re a beginner looking for an affordable auto-darkening model, or a professional fabricator needing a PAPR system, investing in the right helmet will pay off in protection, productivity, and weld quality.
👉 Browse our Welding Helmets Collection to find helmets designed for every level — from reliable entry models to premium professional setups.