
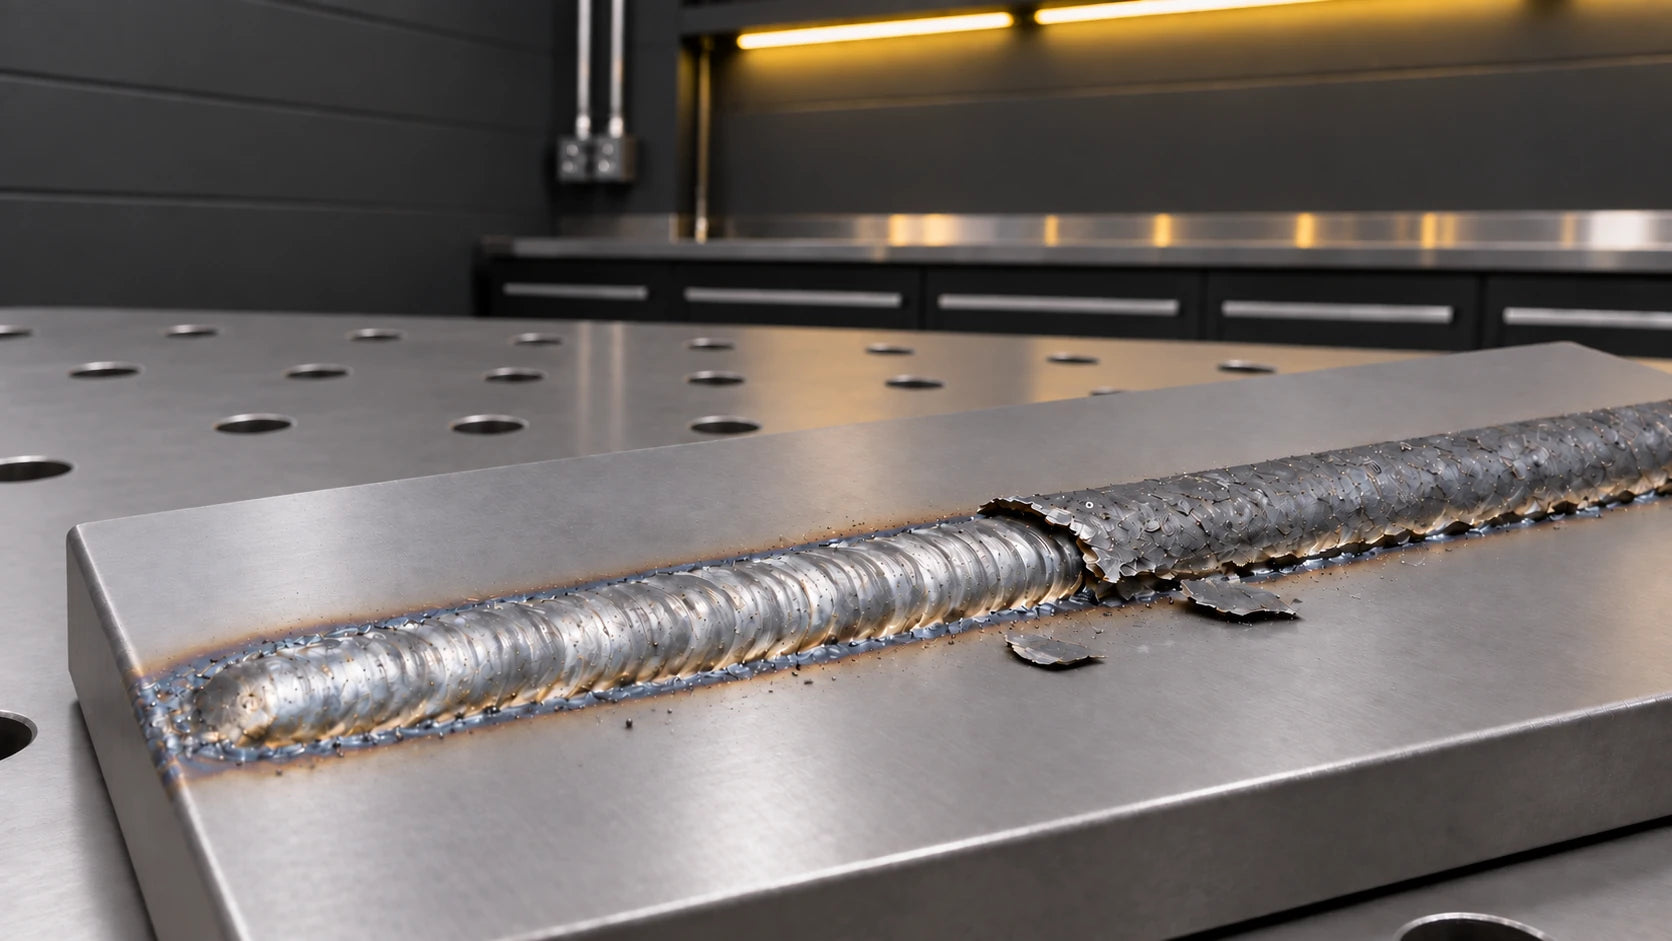
Stick welding is one of the oldest types of welding and is still widely used today on various applications, such as construction and earth moving equipment, thanks to its simple technique. While it may not be as easy as MIG welding for a beginner, it’s definitely not as hard as TIG welding.
Stick welding is a good middle ground and is perfect for those who don’t want the hassle of a gas tank or want to weld thicker pieces of metal.
What is Stick Welding?
Manual Metal Arc (MMA) or ‘Stick’ welding is the process in which a power source is used to create an electric arc between a flux covered electrode and the workpiece. Strike the electrode against the metal to ignite it and then melt the electrode into the joint to create the weld.
The flux covering acts as a protective layer for your weld, so there is no protective gas needed for this process. This protective coating on the electrode leaves behind a topcoat on your weld known as ‘slag’, which needs to be removed to achieve a clean weld.

Machine Setup
- Stick Electrodes
- Electrode Holder
- Polarity
- Settings
Select MMA or stick mode only if the machine lists that capability.
1. Stick Electrodes
Match electrode classification to the identified base metal and required weld properties, then choose diameter and current for the joint and position.
For common AWS carbon-steel electrodes, classifications such as E6013 or E7018 encode strength, position and coating/current characteristics. Other electrode standards and alloy classifications use different systems.

- The “E” indicates electrode
- The first two or three digits after E indicate minimum tensile strength in thousands of psi for these classifications.
- For example, the 60 in E6013 identifies a 60,000 psi minimum tensile-strength class.
- This is a stress value, not the weight the finished joint can safely carry.
Joint strength also depends on design, weld size, material and weld quality.
The position digit describes permitted positions within the classification.
The final coating/current designation must be read with the full classification and the manufacturer's data sheet.
Do not infer polarity or all operating details from the last digit alone.

The most common stick electrode classifications are E6010, E6011, E6013, E7016, E7018 & E7024. Out of these, if you’re just starting your welding journey, the best choice for carbon steel would be:
- E6013 is a common general-purpose carbon-steel option for practice. Use its permitted current, positions and application limits; it is not suitable for every repair.
- Confirm permitted positions for the exact electrode and diameter, not just its general family.
On top of your standard carbon steel electrodes, you can also get hard facing and cast-iron sticks.
- Hard Facing: these are used for things that cop some severe abuse, like the teeth on earth moving equipment. Having a harder metal means it won’t wear out as fast. One of the more common hard facing electrodes is the 531. The difference between these classifications is the hardness you require.
- Cast Iron: cast-iron is made as one solid piece by pouring molten iron mixtures into moulds. Cast iron rods are used to weld pieces back together once they break as they’re made up of the right chemical compound. Some common classifications on these are Ni 98 (or 402Ni) and Ni 55 (or 416NiFe).
If you’re looking for stainless steel electrodes, these are stamped with the metal’s grade; 308L, 309L, 312L & 316L are the most common.
Identify unknown parent metal before repair. A 309-type electrode is not a universal solution for unidentified steel or every dissimilar joint.
Single vs Twin Coat
Covered electrodes can use different coating constructions, including single and twin coatings. The product data sheet defines the intended operating behaviour.
The inner layer contains the ingredients that ionise and make it conductive, which provides a stable, concentrated arc around the wire. The second layer contains the shielding and slag forming components. It is non-conductive, which also helps to concentrate the arc and make it easier to direct.
Low-hydrogen electrode options include different classifications and products. Select by the welding procedure rather than assuming one named electrode is the only choice.
UNIMIG sells a range of general purpose, low hydrogen, stainless steel, hard facing and cast-iron electrodes, including our HYPERARC 16TC Low Hydrogen Electrode.
Specialised aluminium stick electrodes exist, but their procedures and limitations make them different from ordinary beginner steel-stick work.


2. Electrode Holder
There are two types of torch that you can purchase to place your electrode in for the weld: the square/twist lock holder and tongs.
Electrode Holder vs Tongs
The most significant difference between these two ‘torches’ is how they look. The twist lock holder has a square opening which clamps your electrode into place once the head is twisted clockwise.
Do not bend a coated electrode to improve access; damaged flux can affect shielding and weld quality. Reposition the work or use suitable equipment.
The reality is these two types of electrode holders do the same thing: clamp your electrode in place. In America, the tongs are the most popular, and in Australia, the twist lock holder is more popular. That’s why most of the stick welders by UNIMIG come with a twist lock electrode holder when you purchase them.
3. Polarity
Stick welding can be done in both positive and negative polarities, but unfortunately, there is no hard and fast rule on setting the torch up. The required polarity is listed on the front of the box of electrodes, so make sure to keep the front label and read it so you can set your machine up correctly.
- For DC, connect the holder and work return to the polarity specified for the electrode.
- AC operation requires a machine's AC stick mode and an AC-suitable electrode. Changing lead sockets on a DC machine does not produce AC.
Use the electrode's permitted DC polarity or AC supply. DCEP and DCEN identify the electrode connection; neither should be selected from a claim that most rods need one polarity.
4. Settings & Amperage
Select the supported stick mode, then set current and any start or arc-force controls using the machine and electrode guidance.
For example, if you’re using the VIPER 185 MIG/TIG/Stick Welder machine, there’s a switch on the right-hand side labelled MMA/TIG/MIG. You would need to place it into the MMA mode and then use the far-left knob (labelled ‘A’ and with an image of a stick gun) to adjust the amps for your electrode.
Use the amperage range on the exact electrode packet or data sheet as the starting point.
Adjust within that range for joint, position and technique; one 60–65 A recommendation cannot cover every 2.6 mm electrode.
While welding, there are a few indications that your amperage is set incorrectly. If your amps are too high, the arc will be fierce, with too much penetration and spatter spraying everywhere. If your amps are too low, you’ll have a very soft arc, there’ll be barely any fusion between the metals, and your electrode will likely stick more.
Keyable VRD
Do not disable a voltage-reduction device to make starting easier. Keep the required electrical safeguards active and investigate starting problems using the approved equipment and electrode guidance.
Metal Preparation
Some stick electrodes tolerate surface contamination better than other processes, but joint preparation still matters. Remove oil, paint, moisture, loose rust and other contaminants as required by the procedure, and provide clean metal for the work-return connection.
Storage
Keep all electrodes within their specified storage conditions; low-hydrogen products have particularly important exposure limits.
Follow the manufacturer for storage temperature, permitted exposure and handling after opening.
Re-dry only products for which the manufacturer permits it, using the specified cycle.
Do not apply a low-hydrogen baking cycle to another coating type or use a domestic food oven.
Starting Your Weld
You’ve got your electrode and machine ready to go; now you’re ready to weld.
There are three main factors to consider when doing a weld:
- Work angle
- Travel angle & distance
- Travel speed
This is true regardless of whether you are TIG, MIG or stick welding. Stick welding is slightly different from MIG and TIG, though, as your stick torch starts a lot further away from the join than the others.
1. Work Angle
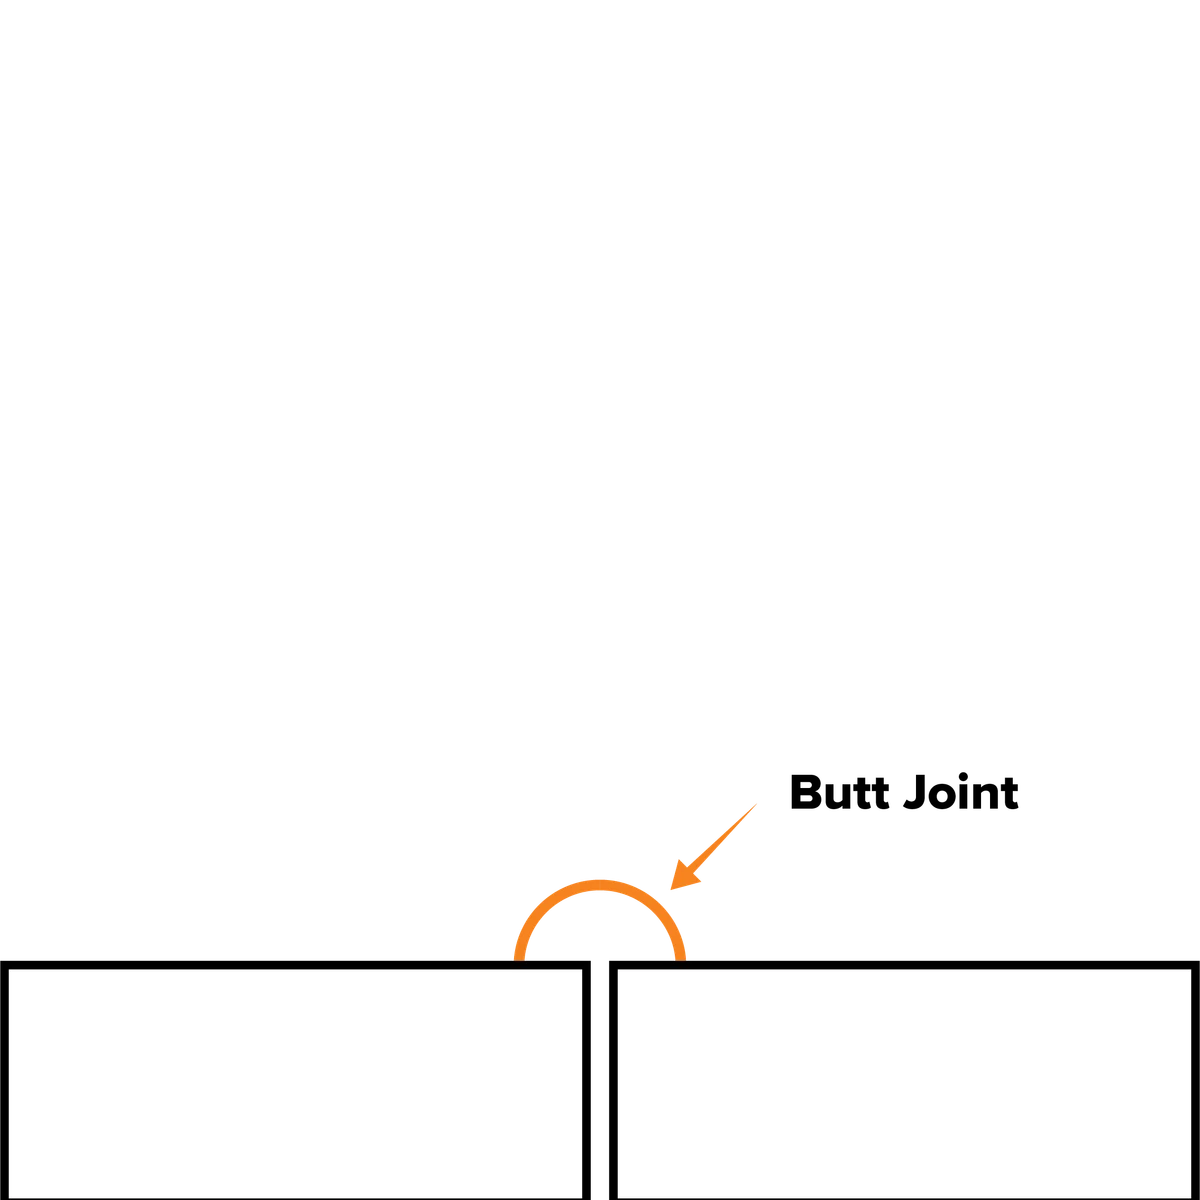
Your work angle is your torch in relation to the angle of the joint. There are a few different joint types, and several positions these joints can be found.
| T-joint / Fillet Joint | Butt Joint | Lap Joint |
| 90° joint angle | 180° joint angle | 90° joint angle |
| 45° work angle | 90° work angle | 60°/70° work angle |
 |
 |
 |
(These angles do not include your travel angle, which we’ll talk about next.)
Positions
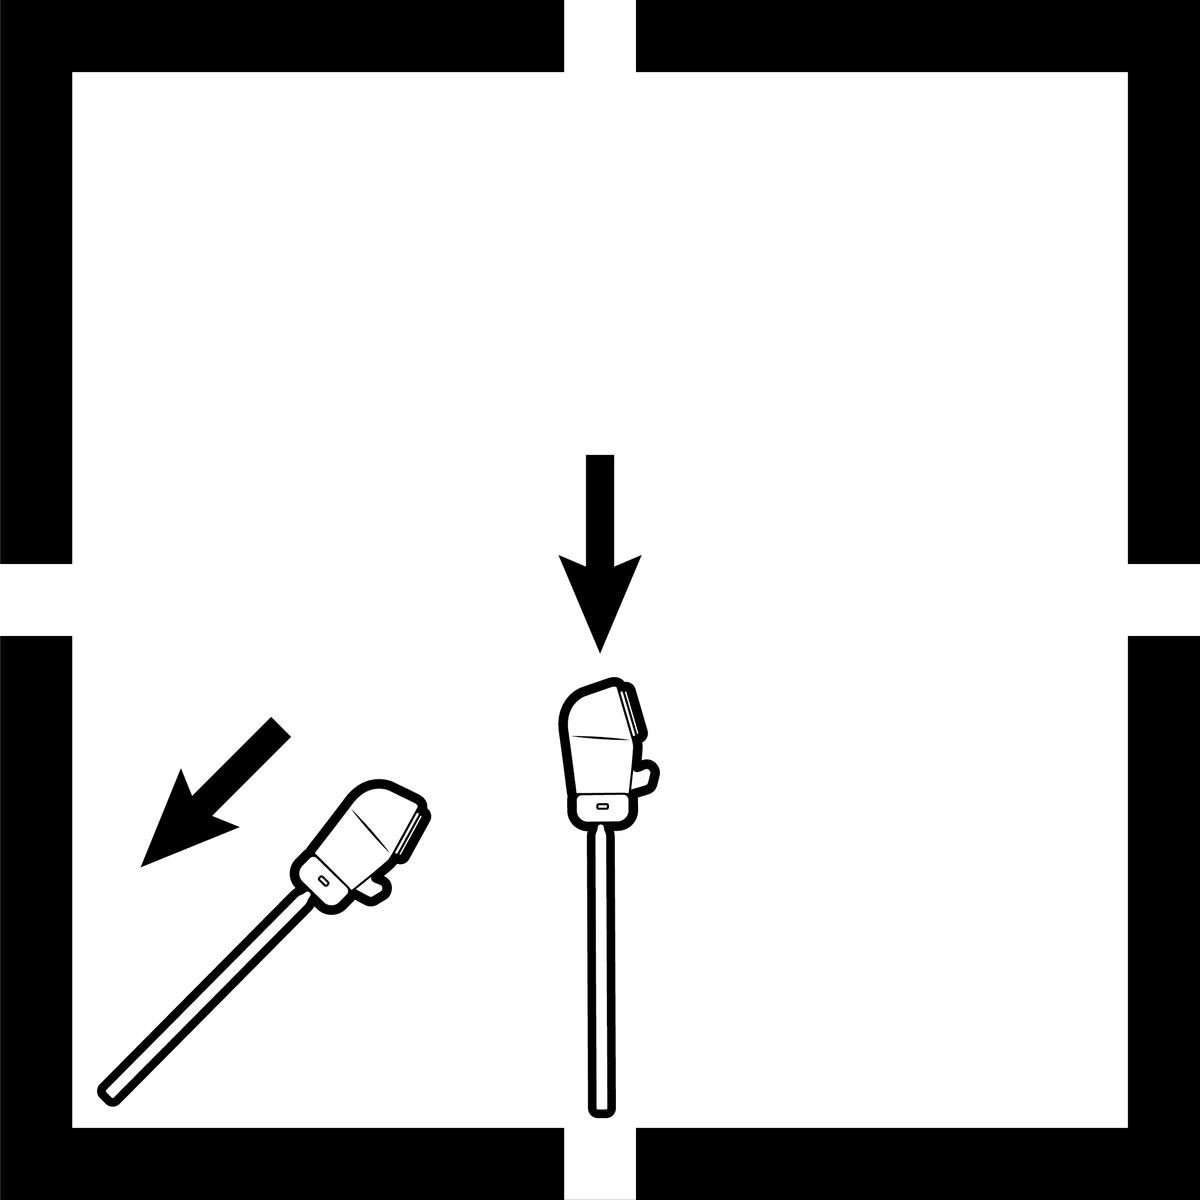
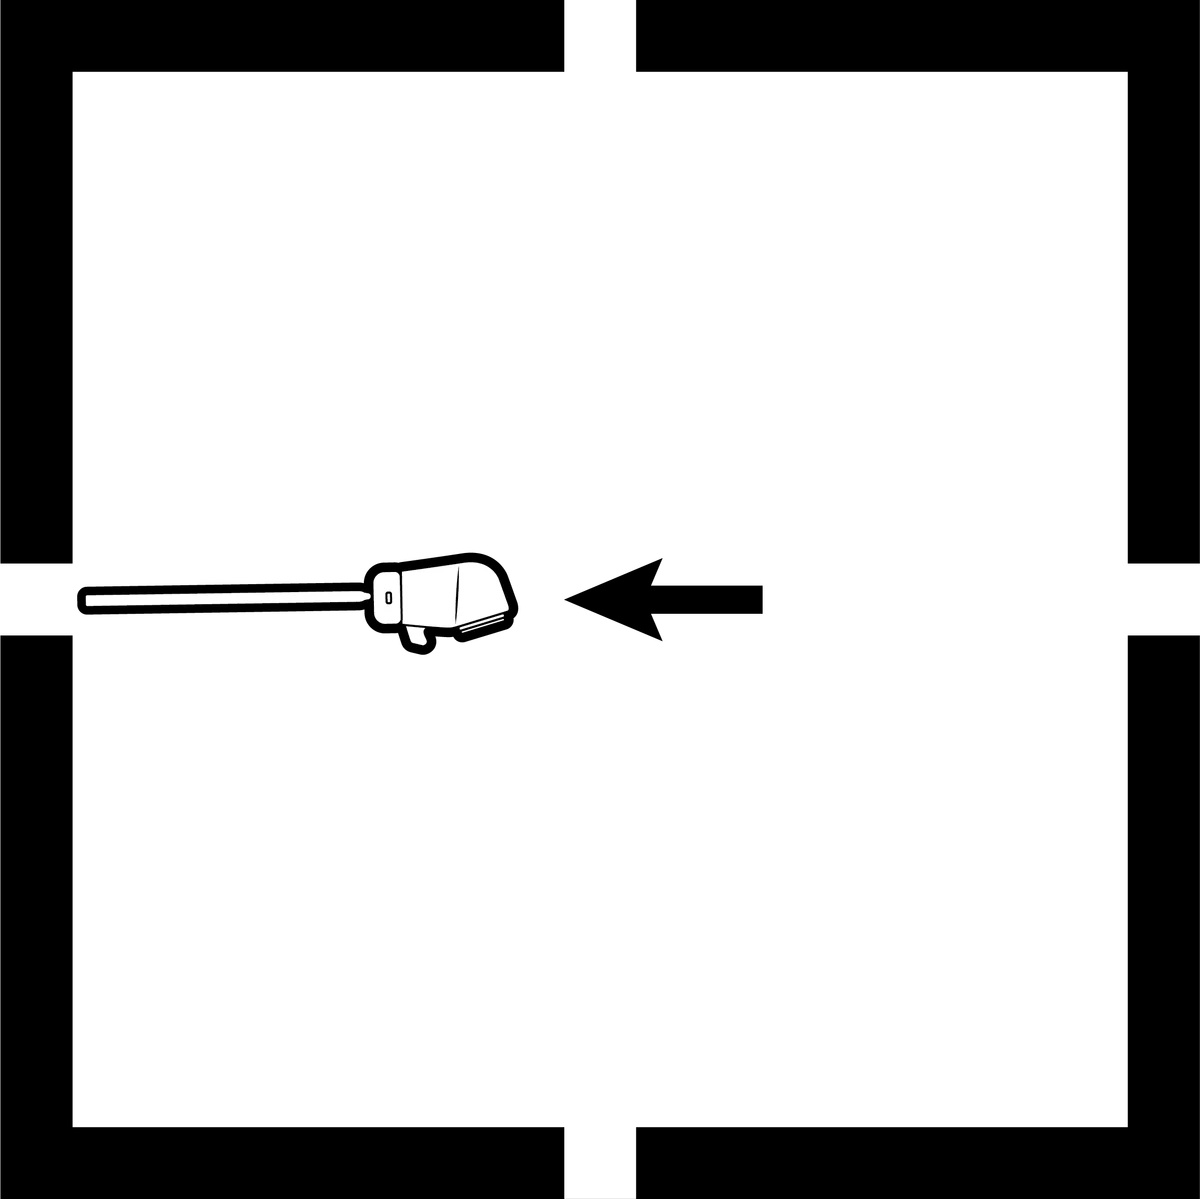
| Flat (butt & fillet) | Horizontal | Vertical | Overhead (butt & fillet) |
 |
 |
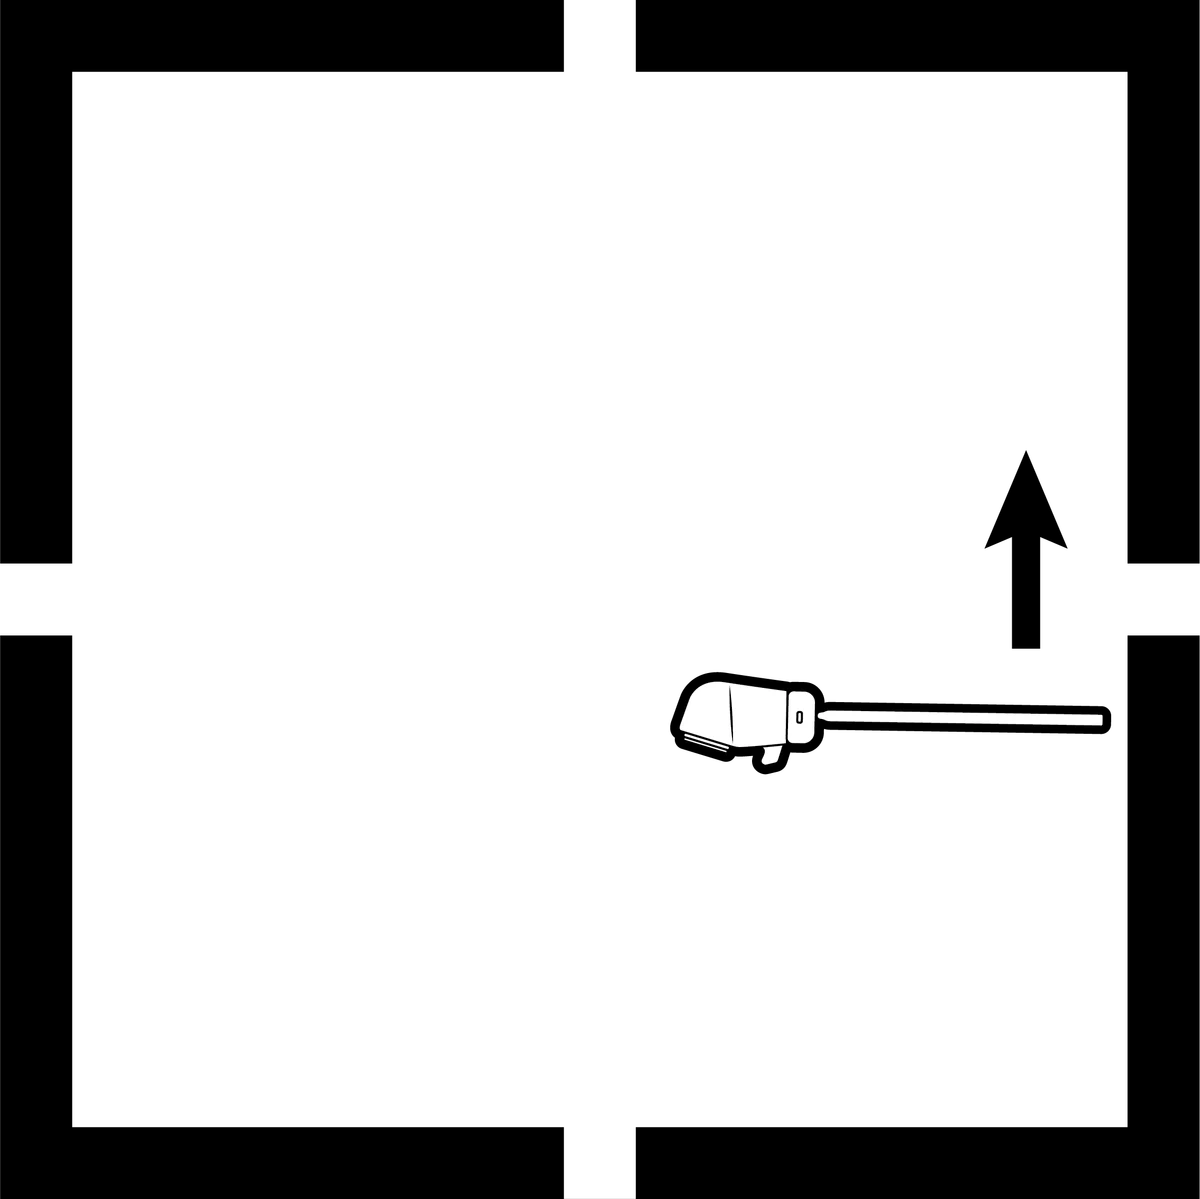 |
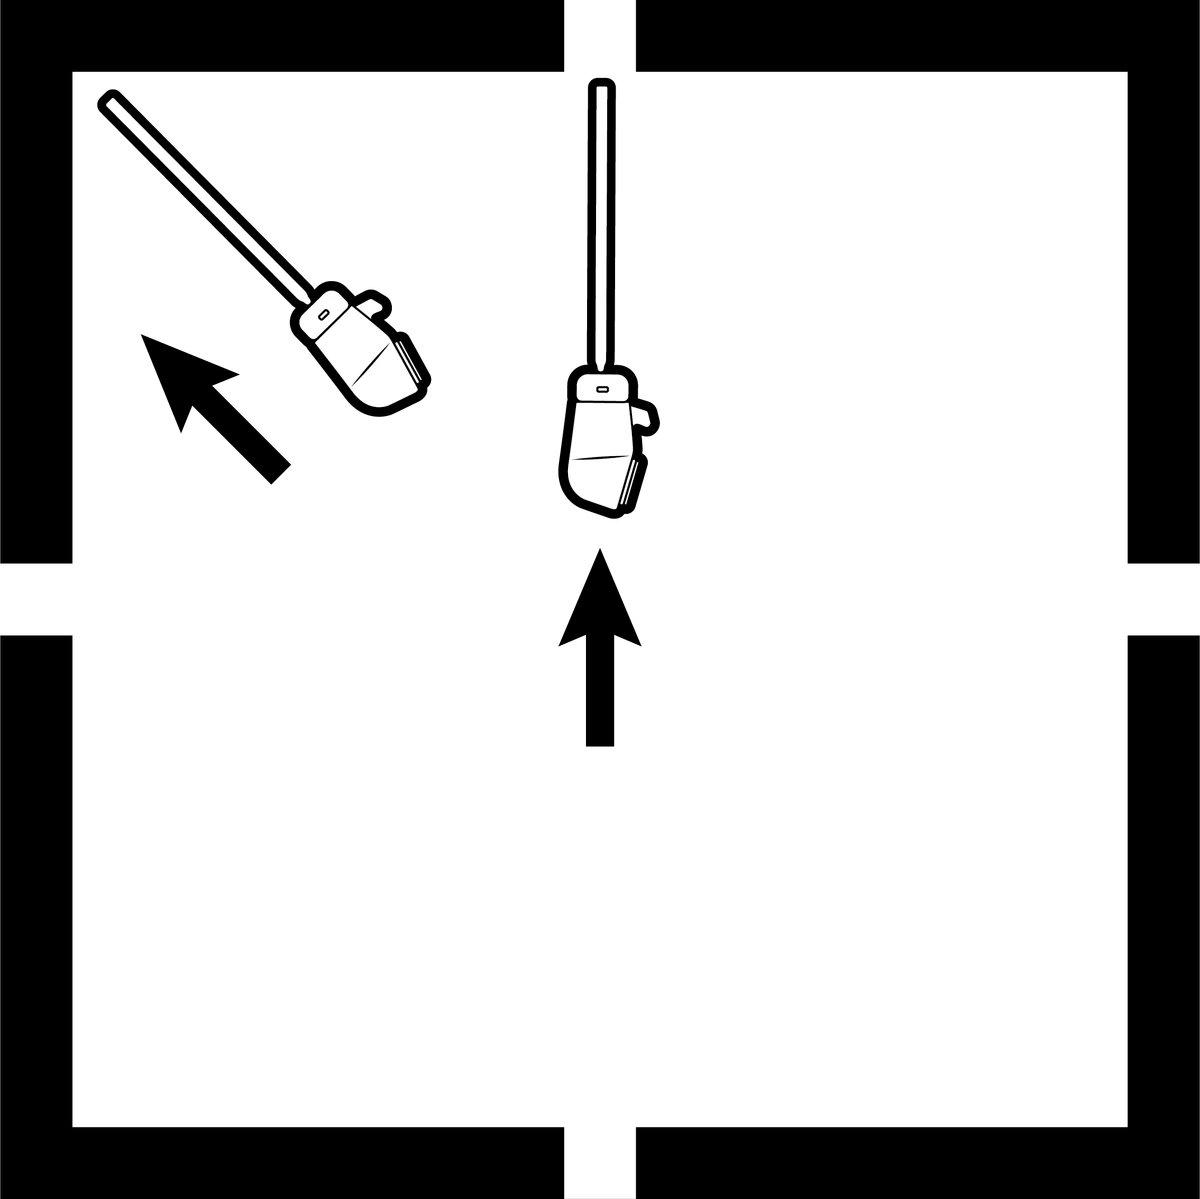 |
Use travel speed and progression suited to the electrode and vertical procedure; vertical welding is not always performed faster.
2. Travel Angle & Distance
Flat, horizontal and overhead stick welding commonly uses a drag angle. Vertical-up technique may use a forehand angle; follow the electrode and procedure rather than an always-drag rule.

Maintain a short arc suited to the electrode. A useful starting guide is no longer than the core-wire diameter, but some electrodes require a tighter arc; avoid a fixed 3 mm rule.
Travel Speed
Maintain controlled travel so the weld achieves the required fusion and size. Both excessive and insufficient speed can cause defects; penetration does not follow a simple faster-equals-shallower rule in every case.
Making the Weld
Before you start a stick weld, it’s a good idea to do some dry runs to make sure that you can move with the rod as it melts and gets shorter. You can do this over the edge of a table; just imagine your weld is disappearing into a weld pool, and move along the table’s edge, slowly dropping your electrode down below it as you go.
Practising this is a good idea as you don’t want to make your arc too long. A long arc will affect your weld’s quality, and the arc will fail if it gets too far away.
It’s also a good idea to practice your arc ignition on some scrap metal. You want to scratch your electrode like you’re lighting a match and then pull up, but you don’t want to pull away too fast or too far.
If the electrode sticks, stop promptly and follow the machine's release procedure. Isolate output before handling or changing it; do not keep a stuck electrode energised while forcing it free.
Place your workpiece in front of you in a way that when you begin welding, your hands can move freely and steadily. Remember that you want to be able to move downwards with the electrode.
Attach the work-return clamp to clean metal with a reliable current path near the weld. It completes the welding circuit and is separate from protective earthing.
If you’re making a fillet join, you can use a magnetic welding clamp to hold your two pieces of metal together.
Start with your tacks. Remember to flip your welding helmet down before you ignite your arc. Tacks are used to fuse the metals together at the edges, so you don’t have to hold them together while you’re trying to weld.
Make tacks large and sound enough to hold the specified fit-up. Remove unacceptable tacks; they are not deliberately weak welds intended to snap off.
The first step in making a stick weld is igniting the arc. Scratch your electrode along your metal, quickly but not too softly (some force is needed) and pull it up and away as you scratch (but not too far). Now that your arc is ignited, you can begin to drag it along the weld, maintaining a steady pace for the best results.
If you accidentally pull away, or you don’t move down with the melting electrode, you can reignite it in the same way that you started it in the first place.
If a used electrode will not restrike, follow its manufacturer's restart method. Do not damage the coating or handle the tip while the output is energised.
Judge weld size against the joint requirement, not a rule that the bead must be twice the electrode diameter.
Reuse a partly consumed electrode only if its condition, coating and remaining length meet the manufacturer's guidance.
Once you’ve finished your weld, there’s one last step before you can examine how well you did. The slag removal. The protective layer that forms over your weld to minimise contamination needs to be taken off to complete the process.
You can remove the slag with a chipping hammer for the best results, and a wire brush to finish it off doesn’t hurt either. If you intend to go over the weld again and make multiple passes, this wire brush is essential in order to remove all contaminants from the weld. The type of electrode you use will also impact how easy or hard it is to remove the slag from on top of the weld.
Let slag cool as required and remove it with controlled chipping and brushing while wearing suitable eye and face protection. Keep other people clear of flying fragments.
Once you’ve removed the slag, you’re done, and you can inspect your weld. Don’t be disheartened if you’re first stick weld doesn’t look great. Getting the technique right and keeping a steady pace as you drag while the electrode melts away under you is hard.
The first few attempts will most likely be wobbly; your arc will stop and start; you’ll probably have fat parts and thin parts. All of that is fine! Just keep practising (you can use your half electrodes for practice), and you’ll be a master in no time.
Sources for revised guidance
Reference diagrams: UNIMIG. Original source attribution is retained.
Related guides
Process guideWhat Is Stick (MMA) Welding? The Basics for Beginners TroubleshootingWeld Defects: 12 Common Problems and How to Troubleshoot Them Buying adviceWelding Duty Cycle Explained: Choosing the Right WelderMatch electrodes to the job.
Have the material, joint, machine and electrode classification ready.
Ask us about thisTechnical sources and scope
Reviewed 22 September 2026. Manufacturer examples apply to the named equipment; use the current manual for your exact model and the required welding procedure.
- Miller — selecting stick electrodes
- Miller — stick technique, arc length and travel angle
- Lincoln Electric — storing and re-drying electrodes
- SafeWork NSW — arc-welding electrical safety and VRDs
- SafeWork NSW — Welding processes code of practice (2022)
VRD disabling, bent electrodes and generic re-baking advice were removed; current, position and polarity follow the electrode and machine guidance.


